How To Convert CD+G’s Into AVI
Alright,
this topic is made for those people who are mainly interested in karaoke
work. CD+G is the format
used by the graphical interface used to display the lyrics when singing a
karaoke. Of course, the
issues people will have is that their player doesn’t support CD+G format and/or
the MP3 or WAV format associated
with the CD+G graphics.
In my
application, the player WinAmp has
a plugin that supports CD+G and WAV as well as CD+G and MP3. However, the CD+G graphics are
displayed on a different window than the video from an AVI or MPG. Thus it forces the user to switch
windows manually. This
is of course awkward when my
chosen interface won’t rely on a mouse.
So, here is
my process to convert a pair of files (a CD+G and MP3 pair) and make them into
one *.avi or *.mpg file. You can skip steps if you have already
done them and you can stop anytime when you have your desired outputs.
A) Converting the MP3 To WAV
Ok a rather basic task. Normally, you won’t need to do this for CD+Gs but in
my case Power CDG does require the wave file. To work.
Of course there are many programs that do MP3 to WAV. I will choose dBConverter just
because it does recursive directories well.
You start up this program as follows:
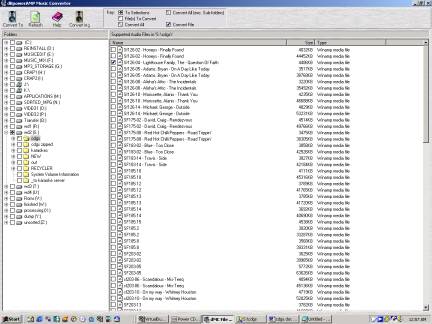
Select the MP3s to convert by clicking on it.
Select WAV
from the menu choices.
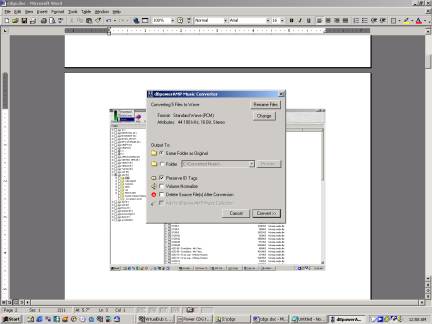
Then this
confirmation screen comes up.
It is just a nag screen to summarize what it is going to do.
This will
convert your MP3s to standardized 44.1Khz Windows PCM format. Just click on CONTINUE.
If you want
to make CD+G disks, you can stop your tutorial here. If you want to refine it some more for VCD creation, then go
the next chapter.
Converting the CD+G to AVI
Ok, in situations where the player will only handle formats
that require the video and the audio to be in one file like AVI or MPG, then
this chapter is for you.
I will use the Power CDG to AVI Converter program.
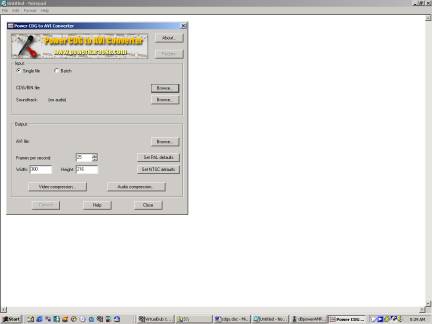
Now this little program is pretty powerful, even does batch
mode for lots of files. But I will
keep this FAQ simple so I will just do a single file.
Alright, the program is asking for the source video and
source audio files. So click
on the BROWSE button in the centre of the screen there.
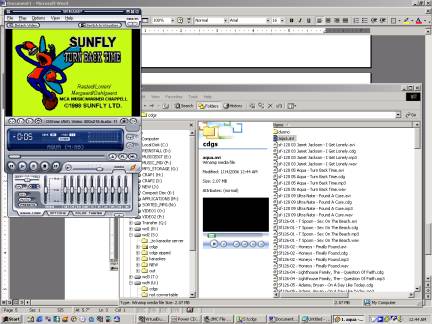
A new sub-menu will come up. From here you will want to click on the CD+G that you
want to convert with.
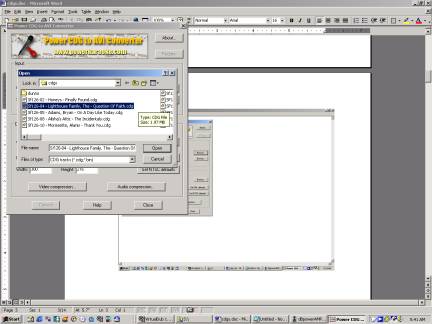
Then click on OPEN when you got the right file highlighted.
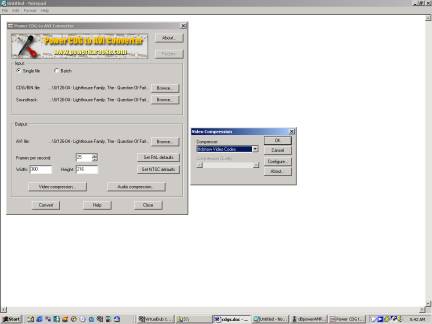
The next thing to set is the video compression. You will now click on the button
labeled VIDEO COMPRESSION.
This will bring up another small menu.
Just select
your favourite video codec you would like to compress with. You can pick DIVX but since I
always hate that stupid Divx logo on the corner of the room. In my example I will use FFDshow.
Now, you could choose the AUDIO COMPRESSION button to play
around with the sound.
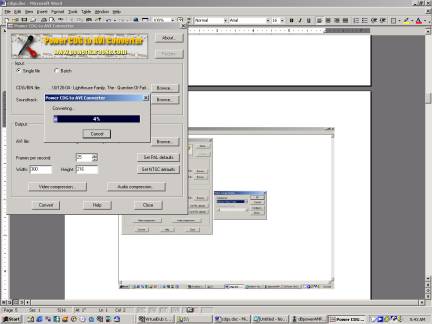
When we are ready to begin, we press CONVERT. It will do it’s thing.
And then
wait for it to be done.
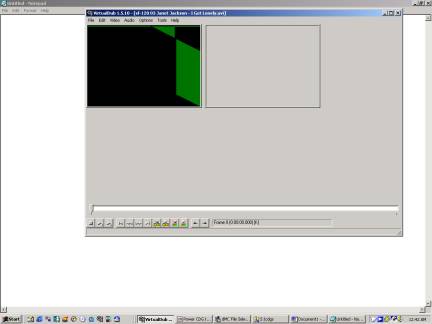
c) Virtualdub To Make A Single File Out Of Two
The Last
phase. Now usually, that
Power CDG2AVI thing should do the job.
However, for some strange reason I ended up noticing that there was no
audio.
Ok, no big
problem, we have done this before!
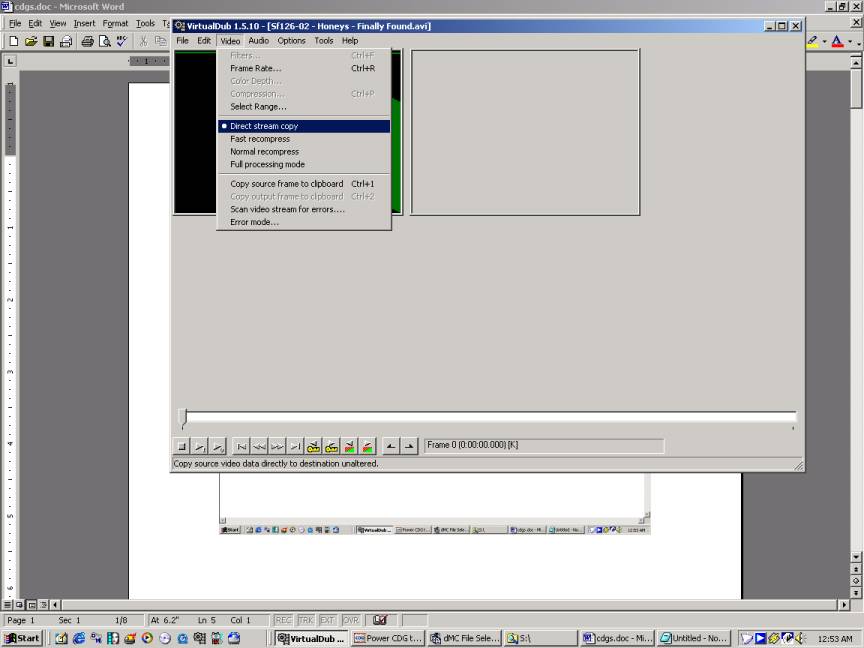
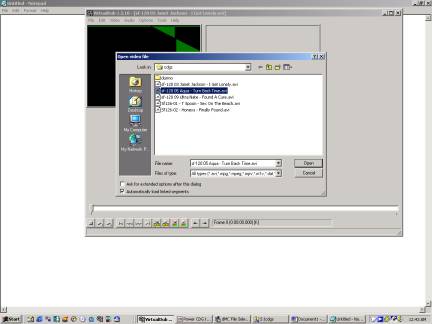
First thing
we do is FILE and OPEN the name of the AVI we need to convert.
The next
tab to look under is the VIDEO tab and we want to sent the video compression
down to DIRECT STREAM COPY.
No point re-encoding it
twice, unless of course you want to be a MPG for VCD burning.
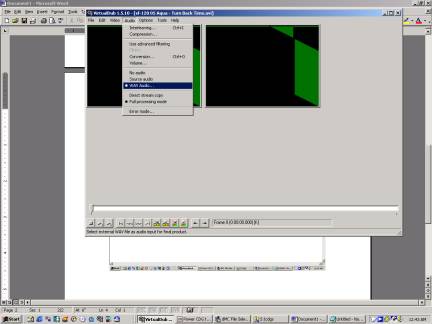
In my case
the audio was not working so lets load the audio in. Under the AUDIO tab select WAV AUDIO.
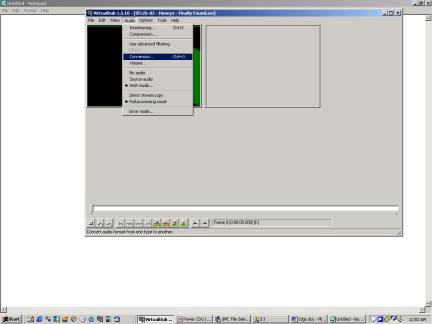
You can
also go into AUDIO / COMPRESSION
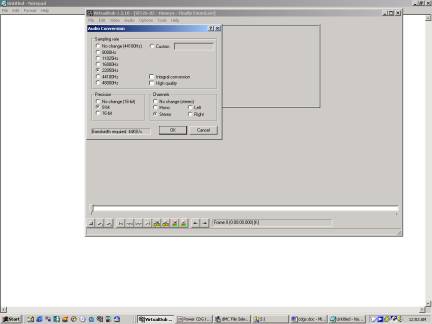
tab, and you will see this window for fixing the quality of the sound.
The lower
you set it the smaller the resulting file will be. The usual is 44.1Khz, so I set it down to
22.0Khz. Since most karaoke
VCDs are in Mono, you can set the stereo down to mono. That should cut the size down
quite a bit.
Once you
set those things, you can click
OK.
Back to the
main page.
Now go
FILE, then SAVE OLD FORMAT AVI.
I choose to
save it as old format so it will more compatible with old programs.
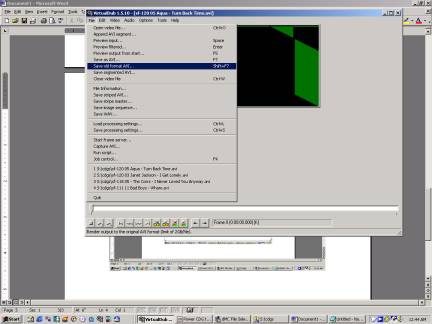
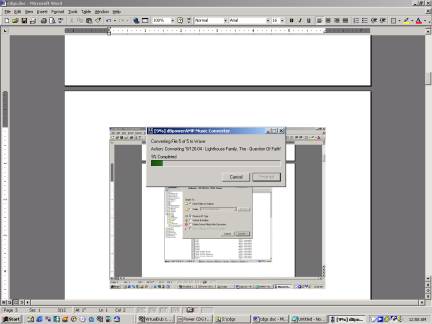
Ok, then it
will save it as your new AVI file.
And it
begins to convert it as follows:
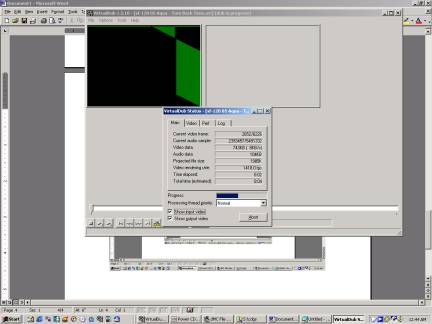
After you
are done, you can test the new AVI file.
Just click on it and play it in your favourite viewer.
And that is
it.