Please click on the thumbnails to enlargen the larger pictures.
 |
 |
 |
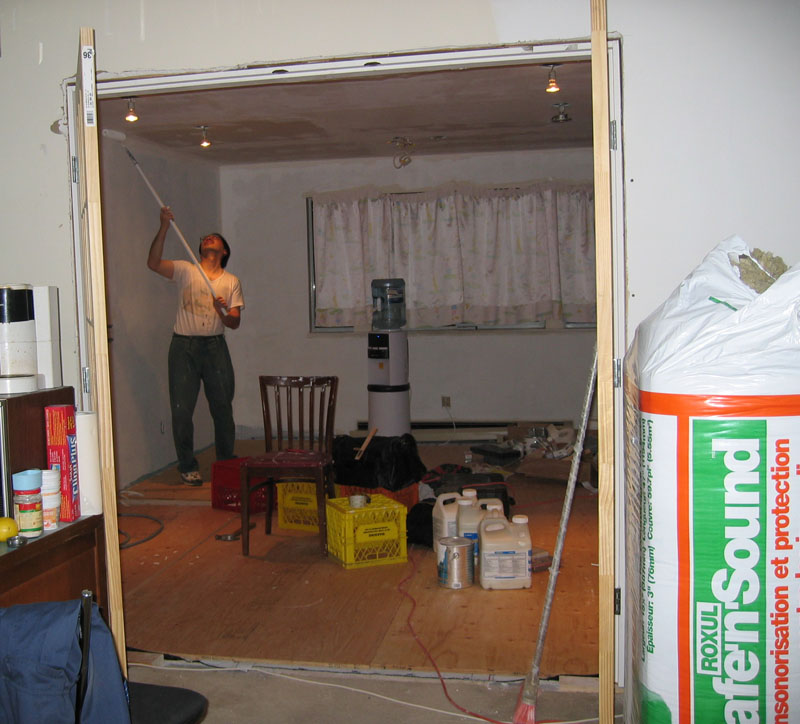 |
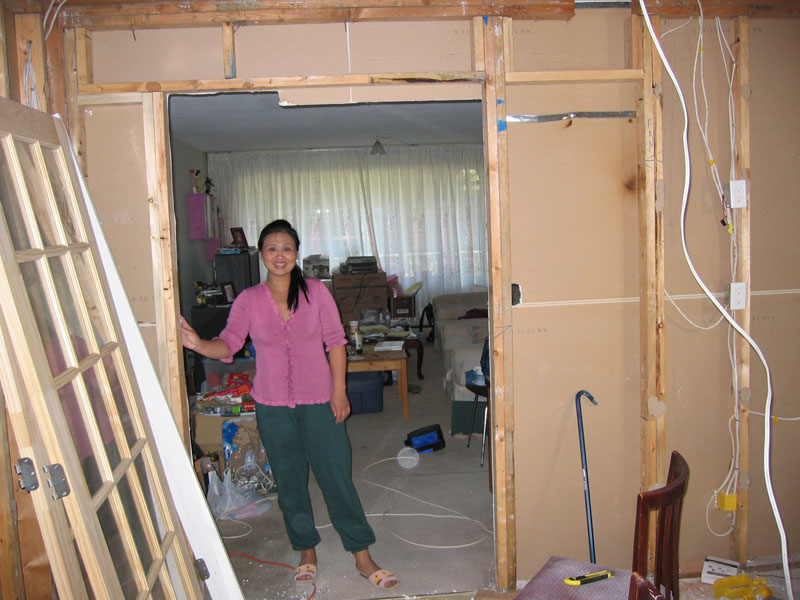
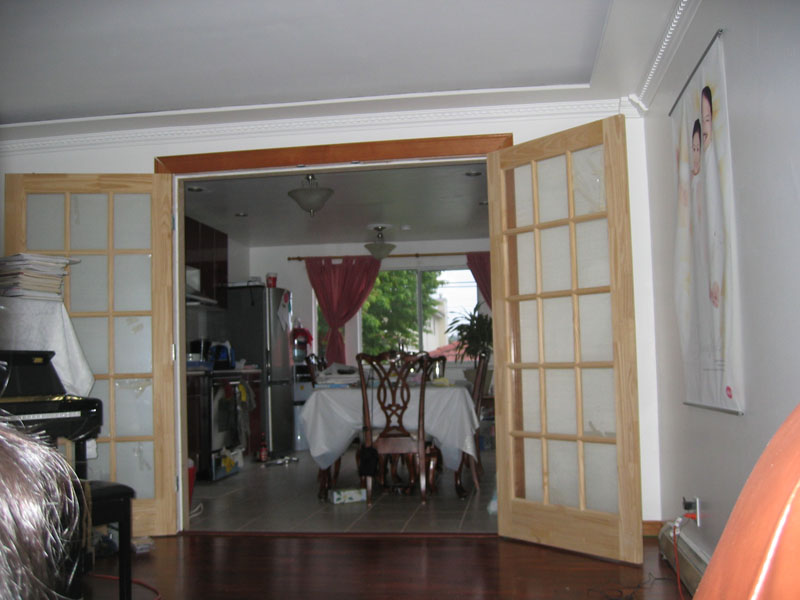
| A before the renovations shot. Elick is standing at the entrance to the kitchen which is a 28" sliding pocket door. | Due to an ordering mistake at work, I was able to get an awesome deal on a double 36" pre-hung French doors. So rip out the pocket door. | My wife is delighted with the much more openness that that 72" door will bring. | Now mounted, looks kinda like this, looking from the living room. |
 |
 |
 |
 |
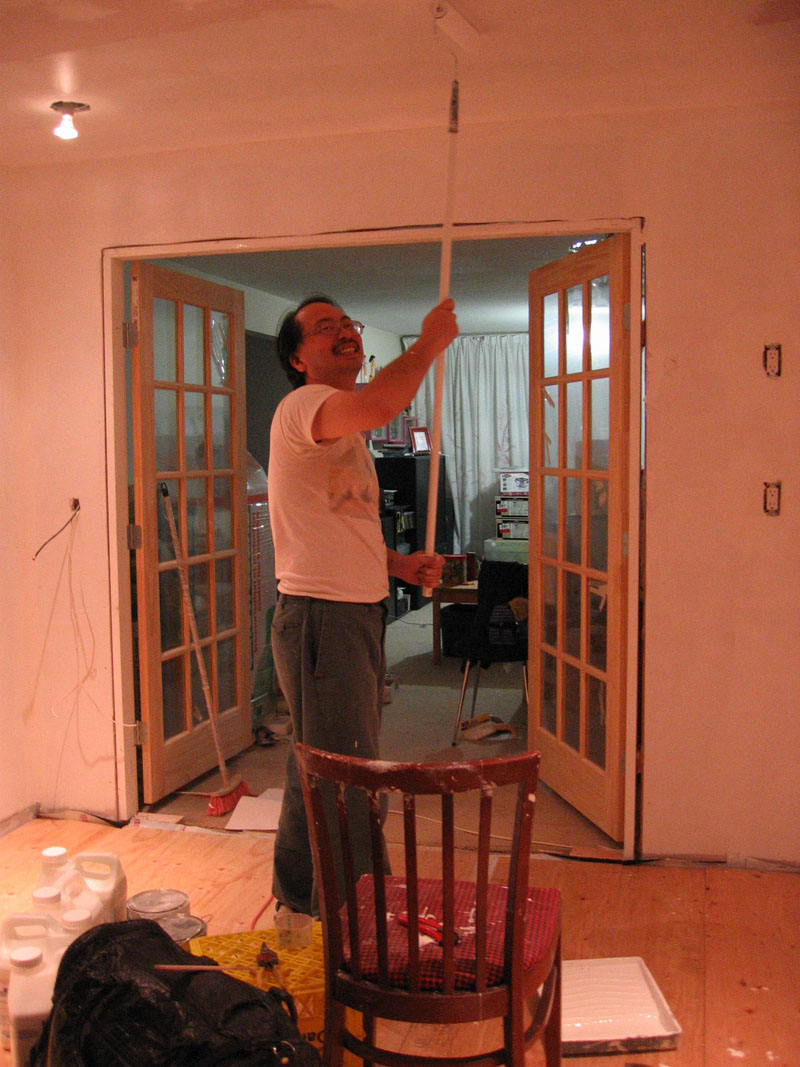
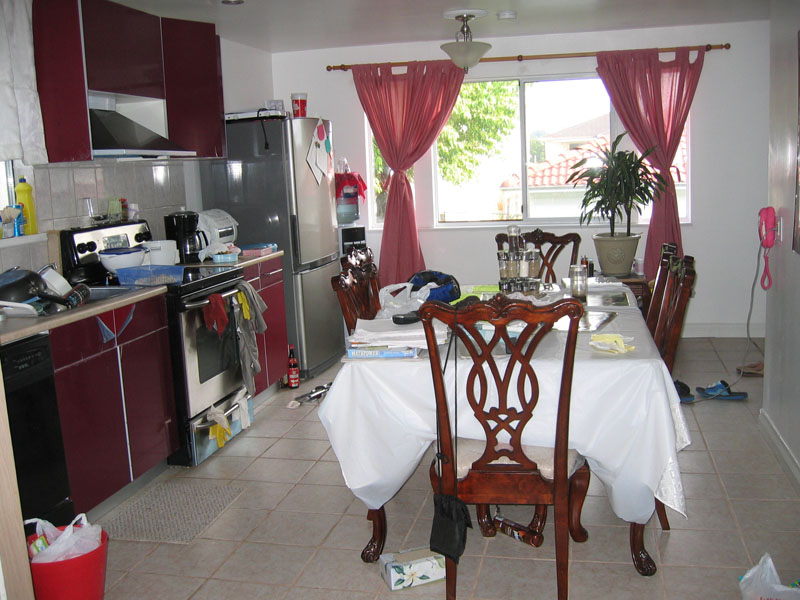
| Here I am painting the ceiling, on the reverse angle, showing the newly mounted French doors. | Ok, now we move inside of the kitchen. Before the reno, there was a stove, where the French doors are now. | This counter L's with a sink under a window with 2 top cabinets. | The counter L's again to make an island, fridge and counters to the right. Kitchen table at the back. |
 |
 |
 |
 |
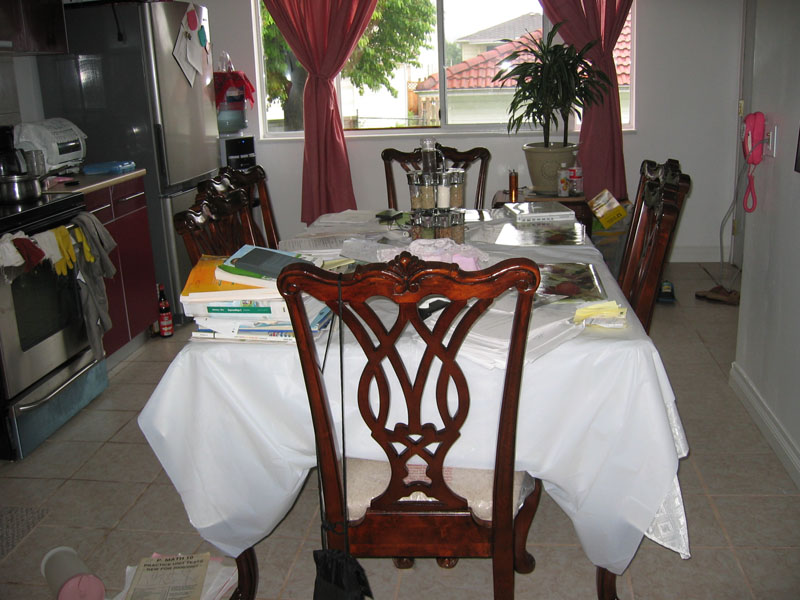
| The kitchen table is right by the back window, under a pendant light, ... | ... and right beside the back door. | First, remove the stove to make room for the 72" door. Insulate and soundproof the walls. Rewire it for more outlet plugs. GFCI all the plugs along the counter. | Rip out that counter, sink and cabinets. Move the stove plug so it will lie on this wall. Add another 5 mil sheet of vapour barrier on top of the sheet already there. |
 |
 |
 |
 |
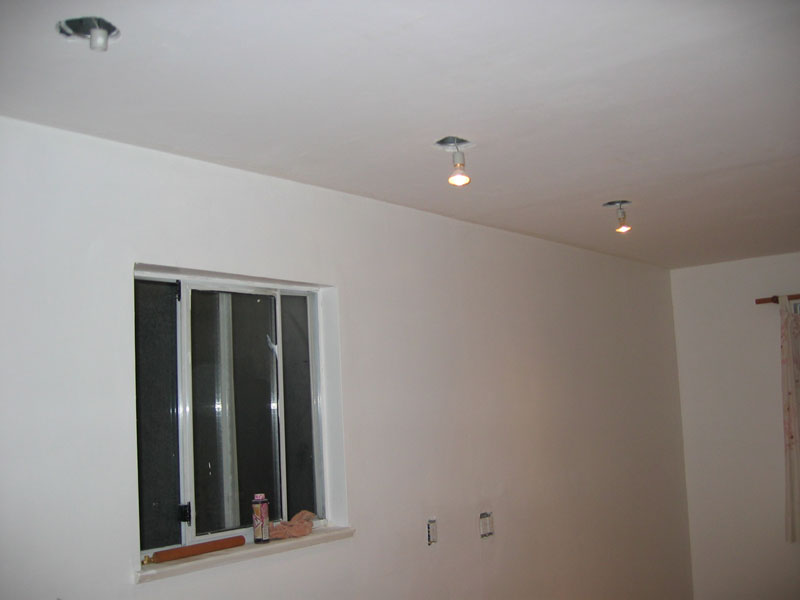
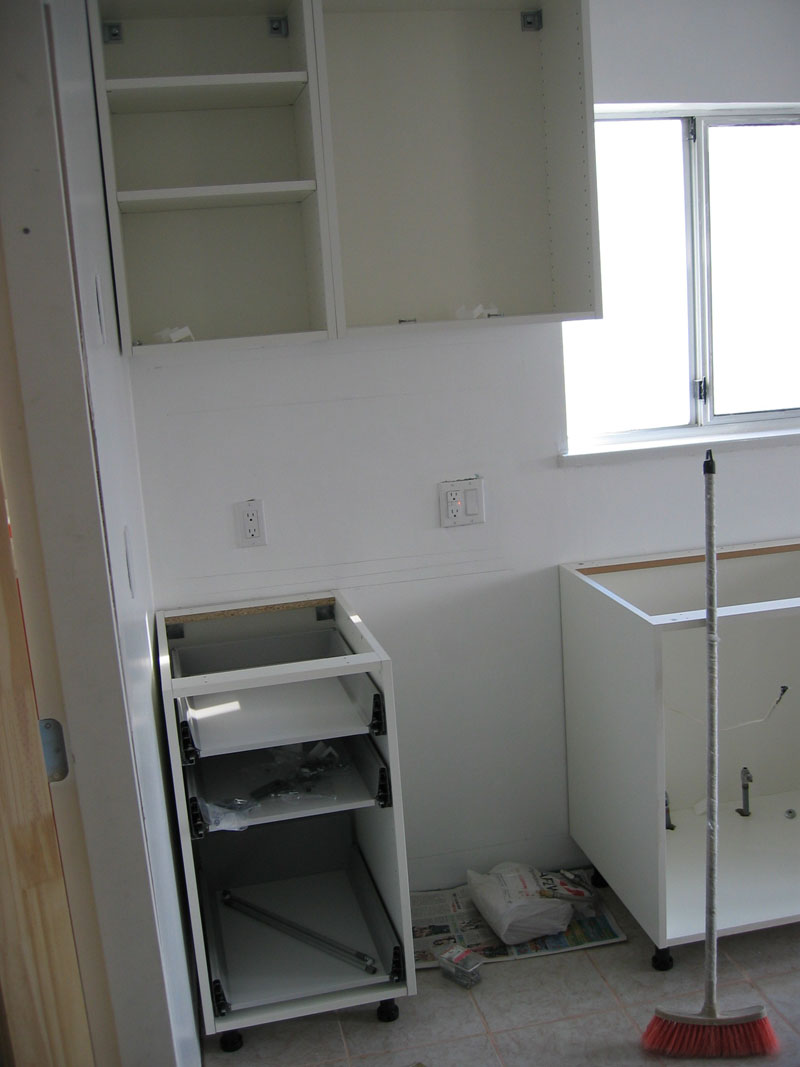
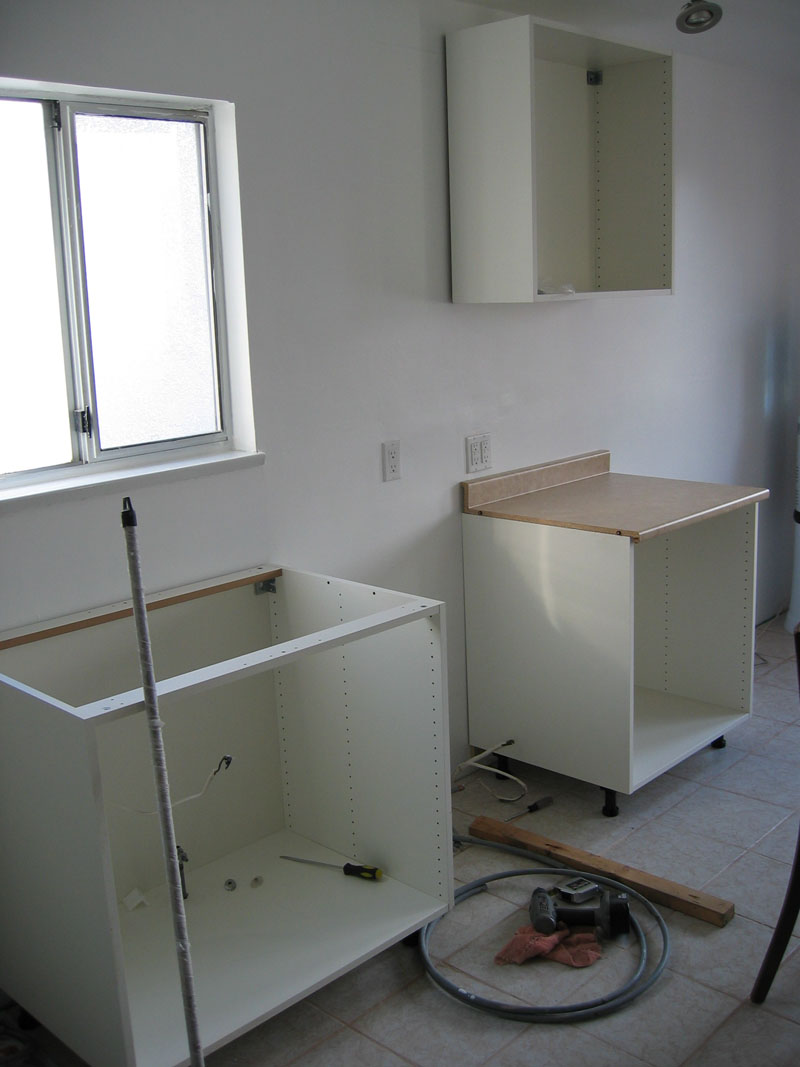
| Installing a bank of cabinets and counter along this one wall only. | Make room for stove and dishwasher. Also dedicated 3 GFCI'ed circuits just for the counter plugs. Microwave, fridge and dishwasher are on 3 seperate circuits too. | New curtian for the back window. | But more importantly, 2 ceiling lights and 6 recessed lights, on 4 seperate circuits, to allow zone controlled lighting. |
|
|
|
|
|
|
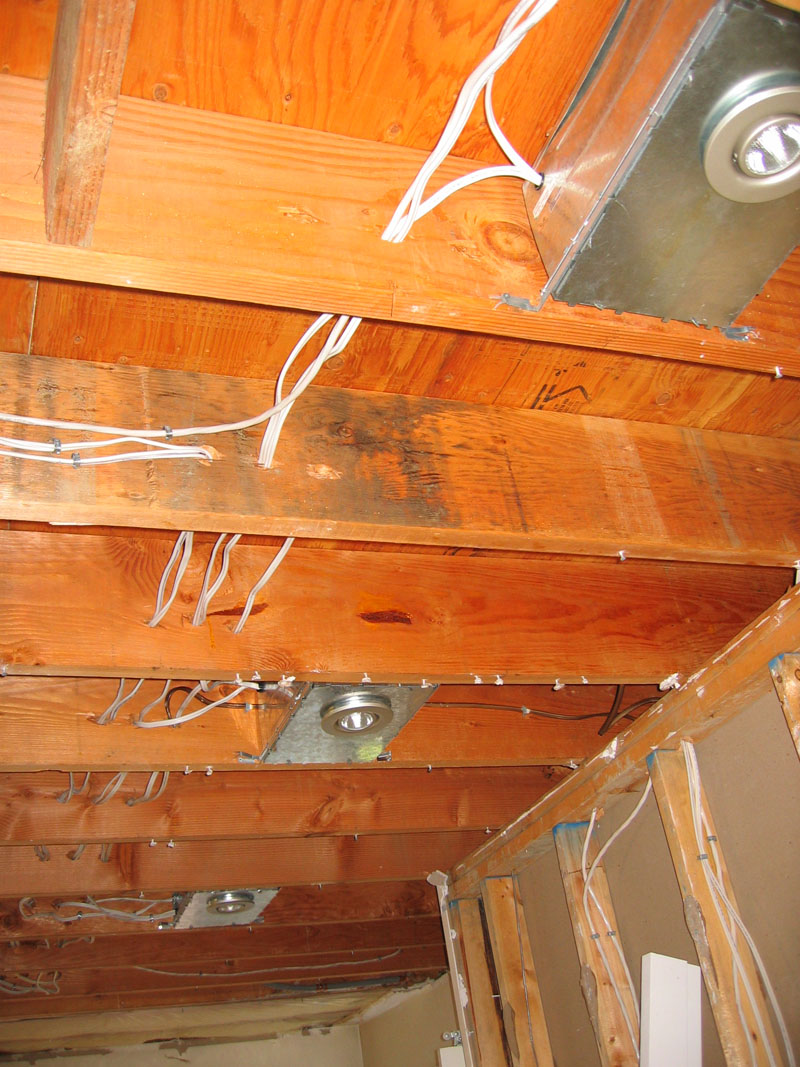
The gutted ceiling. Bank one of the recessed lights. These will be right over the counters. The ceiling was filled with Roxul Safe N Sound for sound proofing.
|
In goes the second set of recessed lighting. This will be over the eating area.
|
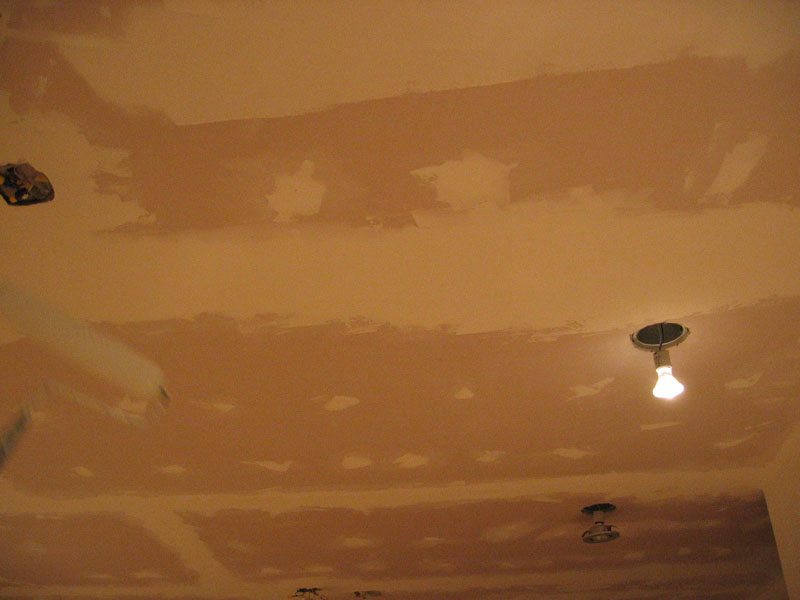
Put the dry wall back up on the ceiling. Now it has sound insulation and it is 5/8" thick rather the old 1/2". Walls are also done the same way.
|
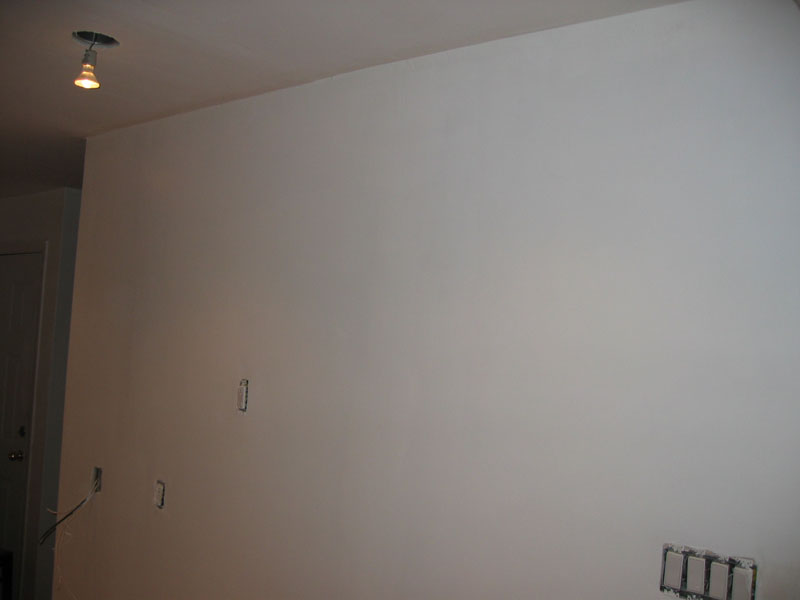
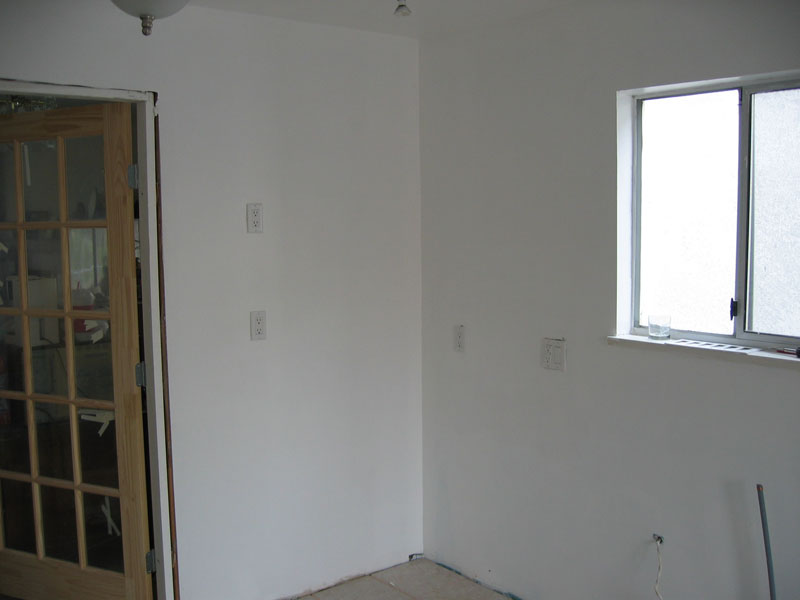
And finally this is the new wall where the right counter and fridge and microwave WAS.
|
|
|
|
|
|
|
There are 3 power outlet and a phone jack are still functional. I added two cable, two Cat-5E, and another phone jacks to this wall.
|
Replaced the floor with vinyl sound insulation, an additional 5/8" ply on top of the plywood already there.
|
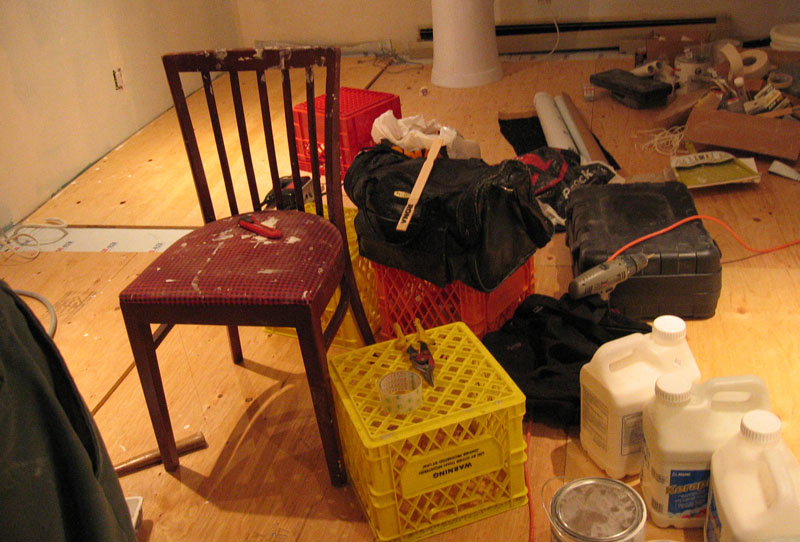
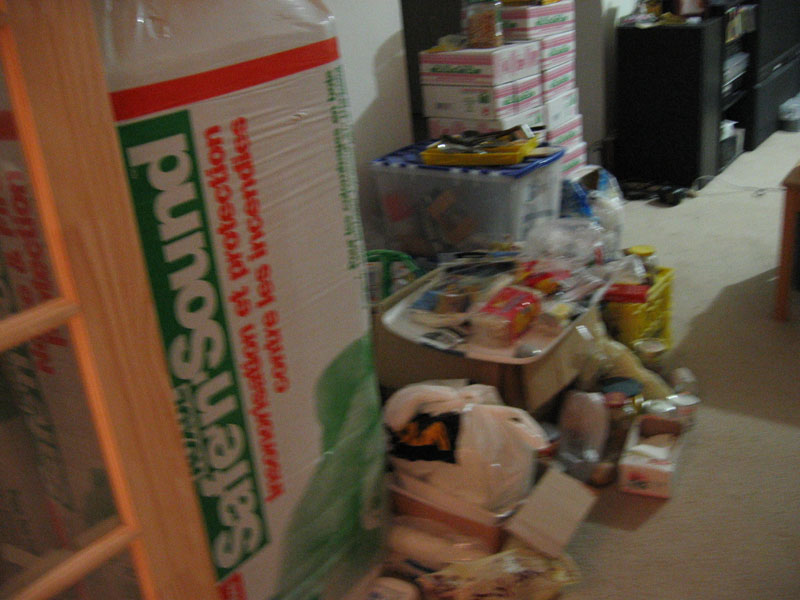
The stuff relocated in our living room. Sound insulation, the stuff that was in the kitchen cabinets, and note the 17 cases of tile for the floor.
|
On top of my new layers of insulation and 5/8" ply, I thinset a 1/2" layer of Hardibacker. The new sub-floor is now over 2" thick!
|
 |
|||
| Then laid the ceramic tiles down, a big improvement over the rotting linoleum floor. | |||
|
|
|
|
|
|
The rest of the living room was not so messy. Against the window is the lighting, dishwasher, and a George Forman grill.
|
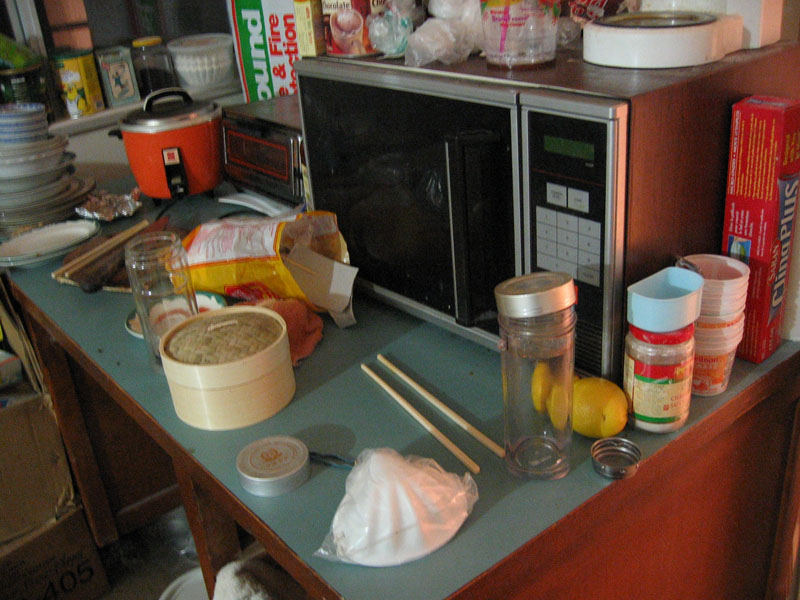
Our cooking area in the living room. With no cabinets everything is all over the floor and in boxes.
|
With no stove, EVERYTHING is cooked in the rice cooker, toaster oven and/or the microwave.
|
One last shot of our food prep area before we start moving it back into the kitchen.
|
|
|
|
|
|
|
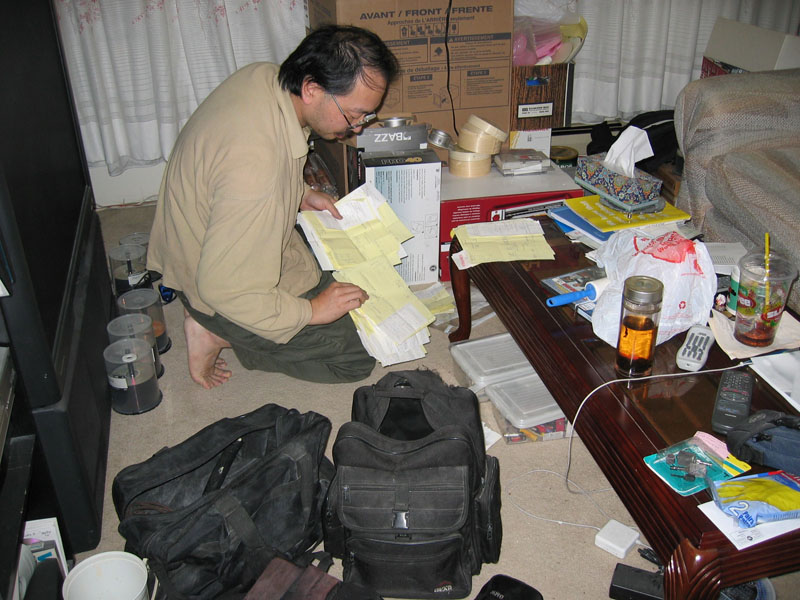
The very ugly part of renovations, the bills!
|
|||
 |
 |
 |
|
| So looking in from the living room into the kitchen through the huge 72" French doors. | Cabinets only on the left, table in the centre of all the lighting. | Stove, dishwasher, sink and refrigerator all on the left hand side. |